


Introduction
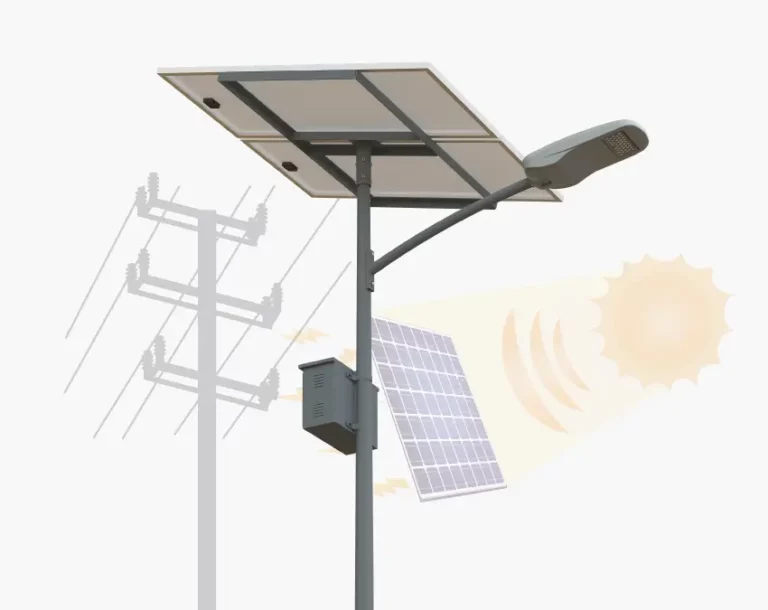
In today’s world, when there is an urgent need for the conservation of nonrenewable resources like fossil fuels, outdoor solar lights and solar street lights stand out as an innovation in outdoor lighting. It not only uses renewable resources like solar energy but also reduces waste and saves money. These lights can usually be seen in places like metropolitan streets, recreational parks, parking areas, and any other location that requires powered lighting solutions powered by solar energy. It is worth noting that solar-powered street lights can function far from city grids as they do not rely on a mains electricity supply.
While the installation of solar street lighting is relatively easy, poor placement can result in a lack of illumination or inefficient energy consumption. In this guide, I will take you through the entire installation process of solar lights so that you have all the information at your disposal from preparation to maintenance after installation. Following this guide will make sure that your lights perform at optimum capacity for many years.
Preparation
Before attending to the installation specifics, the first step encompasses carrying out preparatory works. The area where the solar street light will be mounted should be clear of obstacles with and, if necessary, a crane can be used to ensure adequate height to ensure unobstructed exposure to sunlight, which the solar panel requires. An ideal situs must be unshaded most of the day because it guarantees solar light reception, which is harnessed to power the lightbulb during the night.
Set up the steps in sequential order and ensure all tools and equipment are ready before pursuing the light’s installation. Starting with an electric drill, screwdriver, and a wrench, along with others, you will have all the components of the solar lights, such as the solar panel, LED light fixture, controller, battery box, and mounting bracket, ready. Pre-accuracy and performance are streamlined by the available materials before commencing the process.
Detailed Installation Steps (Step-by-Step Guide)

| Step | Action | Precautions |
| Step 1: Install the Bracket | Secure the bracket and ensure stability. | Ensure the bracket is installed vertically and free of obstructions. |
| Step 2: Install the Solar Panel | Install the solar panel and adjust the optimal angle. | Adjust the panel’s direction according to the geographical latitude. |
| Step 3: Install the LED Light Fixture | Attach the LED light fixture to the bracket and connect it to the solar panel. | Ensure the light is directed correctly and not blocked. |
| Step 4: Install the Controller and Sensor | Install the controller and connect the light sensor. | Ensure the sensor can adjust brightness automatically and control the on/off switch. |
| Step 5: Testing and Debugging | Test the battery charge and check light intensity. | Cover the solar panel to simulate nighttime conditions, ensuring the system functions properly. |
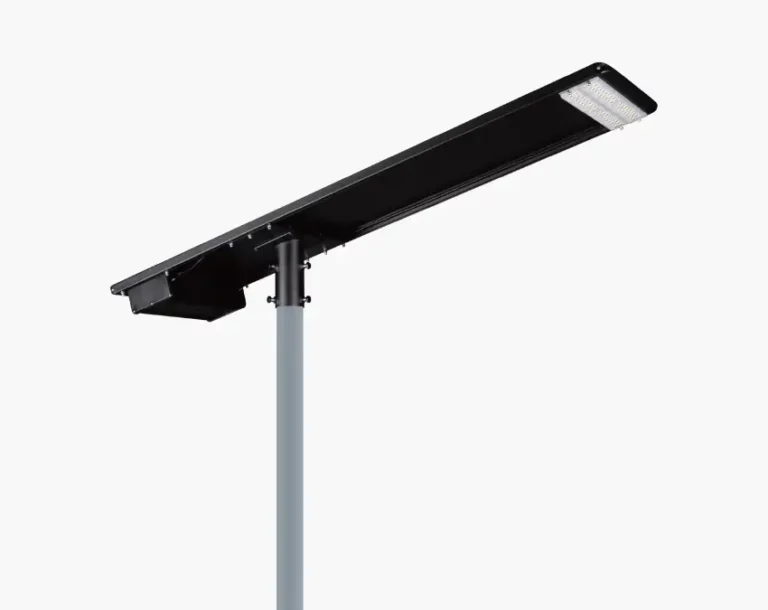
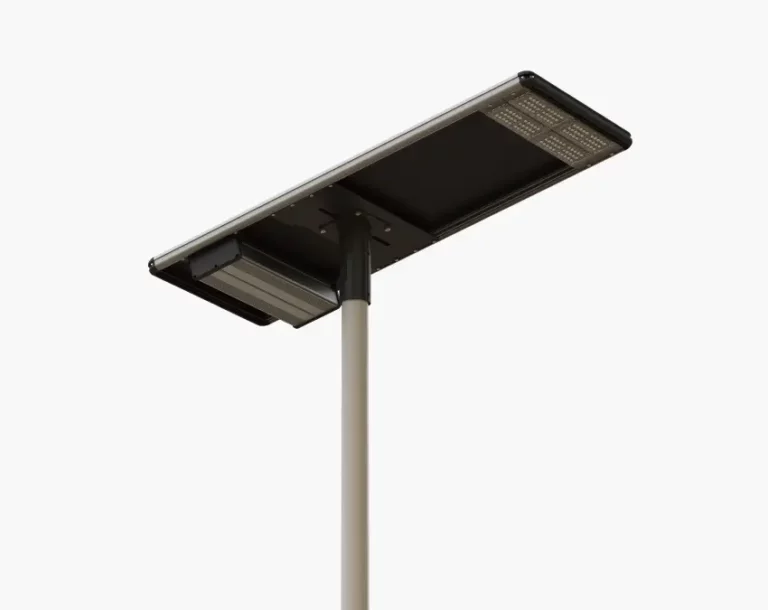
Step 1: Install the Bracket
The initial action in the installation process is to affix the bracket. The bracket is a component of the system that supports both the solar panel and light fixture. First, carefully pick a location for the bracket that enables stability and is clear of any obstructions. Confirm the bracket can be mounted vertically and positioned at a level where the solar panel can capture as much sunlight as possible. After getting the correct placement, use screws to firmly affix the bracket to the pole or mounting surface; it is important the bracket remains stationary. Remember that the entire system relies on a well secure bracket, thus it is recommended that the bracket does not wobble.
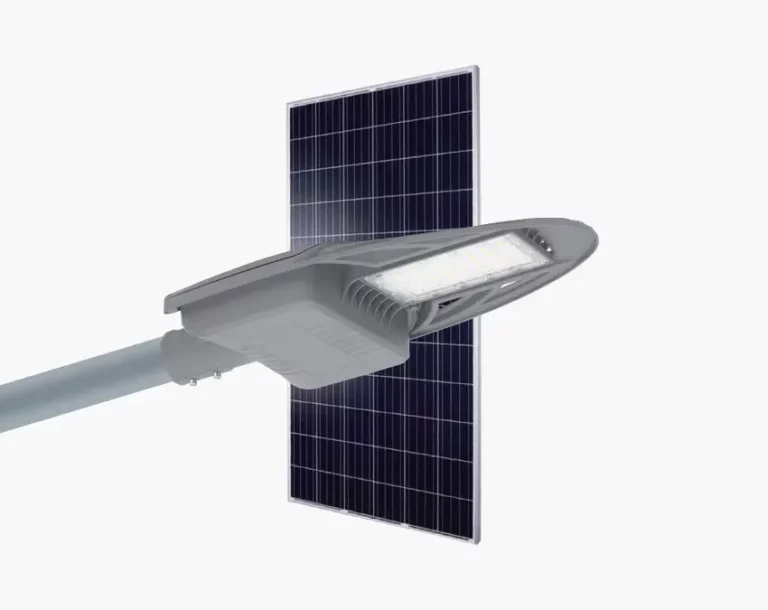
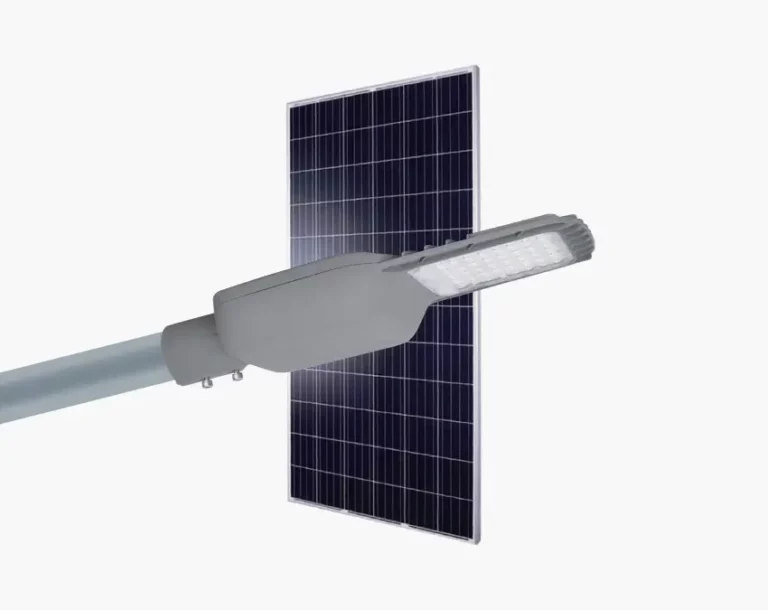
Step 2: Install the Solar Panel
Moving forward with the installation process requires the placement of the solar panel after the bracket achieves secure attachment. The solar panel installation requires an optimal angle for sunlight absorption which depends on your geographic latitude and seasonal changes. The northern hemisphere requires solar panels to be oriented toward the south and the southern hemisphere needs panels oriented toward the north. Securely fasten the solar panel after achieving the correct positioning on the bracket. Secure the panel installation by fixing it tightly to avoid movement or falling accidents. Connect the panel to the controller through proper wiring while ensuring waterproof connections after mounting the panel.
Step 3: Install the Light Fixture (LED Light)
The installation of the LED light fixture follows next in the process. The light fixture needs attachment to the bracket for achieving the best possible illumination. The LED light fixture should be placed across from the solar panel to achieve maximum nighttime brightness. The light fixture needs proper adjustment to shine its illumination where you want it to. Connect the light fixture to the solar panel by using cables after achieving the correct positioning. Insulate the wires to avoid damage and make them waterproof to defend against environmental conditions.
Step 4: Install the Controller and Sensor
The controller functions as a vital component which controls solar street light operations by switching it on during dusk and off during dawn. Place the controller in proximity to the solar panel to achieve efficient signal transmission. A light sensor connected to the controller should monitor ambient light conditions to automatically control the brightness of the light. The controller needs proper configuration to enable automatic control of lighting intensity and operational hours.
Step 5: Testing and Debugging
The system requires testing after completing all installations. Begin by verifying that the battery reaches full charge while the sun is out. To test the light functionality you must cover the solar panel like it would be night time. The system should activate its light automatically and you should note its intensity level. Check both the wiring connections and verify the battery has complete charge when the light fails to activate. Check and modify any system settings to confirm proper operation.
Common Installation Issues and Solutions

| Common Issue | Possible Cause | Solution |
| Solar panel not receiving enough sunlight | Installation location is obstructed, or panel is facing the wrong direction | Adjust the panel direction or move it to an unobstructed location |
| Light does not turn on | Defective battery or poor wiring connection | Check the battery and wiring, ensure all connections are secure and waterproof |
| Controller fails to turn light on/off | Faulty light sensor or connection issue | Inspect the light sensor and controller connection to ensure proper operation |
| Battery does not charge fully | Solar panel not receiving enough sunlight | Ensure the solar panel is clean and positioned to receive maximum sunlight |
The installation process of solar street lights remains simple yet several standard problems can emerge. The main issue that solar panel users face involves inadequate sunlight reaching their panels. The light system will function below its maximum capacity when the solar panel fails to catch sufficient direct sunlight. When solar panel exposure to sunlight becomes inadequate you should readjust its orientation to improve sunlight capture or move it to a location without tree or building interference.
A problem that sometimes happens is when the light fails to activate while the solar panel shows normal operation. The light fails to turn on because of either bad wiring connections or a defective battery. Check all connections to verify their secure and waterproof state. Check the battery for damage and loose connections then replace it if necessary when the charging process is not working correctly.
Post-Installation Inspection and Maintenance
| Maintenance Task | Frequency | Notes |
| Clean the solar panel | Once a month | Remove dust, leaves, and other debris blocking sunlight |
| Check the battery and controller | Every six months | Ensure the battery is in good condition and check the controller for proper function |
| Inspect light fixture and wiring | Annually | Ensure the light fixture is undamaged and wiring is secure and not worn |
To ensure that your solar street light operates optimally, it is crucial to undertake routine maintenance works after installation. Periodically clean the solar panel to ensure that sunlight is not impeded by dust, leaves, or other loose residues. This will enhance the panel’s power generation capabilities. Moreover, routinely inspect the battery and controller to confirm their operational status. If the battery demonstrates signs of aging or underperformance, it should be replaced at once to ensure peak functionality.
Also, the light fixture and wiring should be assessed for issues of damage or wear. All restrictive factors or deleterious components to the system must be rectified proactively in order to mitigate escalation of negative impacts. The undertaking of these maintenance steps ensures that the solar street light system will not only achieve optimal standards but also have its longevity increased.
Tips and Advice for a Successful Installation
A few guidelines will make the solar street light installation a smooth process. You should refrain from carrying out installations on days with rain or snow since they will only complicate the process. Installing and setting up the solar panels on the street should be done on clear and sunny days so that there’s no delay in getting light during the initial period, aiding in charging the batteries.
Also, remember that proper attention should be devoted to the stability of the brackets when being installed. Fixtures that are not stable will begin the processes of loosening the bolts, leading to swaying in the wind therefore risking losing complete damage to the whole system. All parts need to be tightened securely with anchor bolts and screws and thus a properly stable system guaranteed.
Last but not the least, waterproofing is crucial for cables and connections. Be sure that no moisture will penetrate all the joints and that the sealants that are used will stand up to water. The system assurance permits without fail being operational powered on completely regardless of the time of year. Utilization of these simple measures will guarantee proper functioning of the solar street lights installed.
Conclusion
The installation of solar street lights follows a basic process which needs careful planning and precise execution to achieve success. The proper functioning of your solar street light system depends on selecting the right installation spot and using appropriate tools and materials while following the step-by-step instructions. Regular maintenance of the system remains essential while you should stay alert for possible problems caused by inadequate sunlight access or broken connections. The combination of this guide with proper safety measures will help your solar street lights operate effectively throughout multiple years. Happy installing!