


Introduction
Solar lights gained popularity among outdoor lighting solutions because they are environmentally friendly while being budget-friendly. Solar panels enable these lights to capture solar energy during daylight hours which stores the energy in batteries until it automatically switches on outdoor lighting during the night. Solar lights function outdoors but they will gradually perform worse because dirt and dust and grime build up on their surfaces. The efficiency of your solar lights depends on regular cleaning which also extends their operational lifespan. The solar panels’ ability to charge effectively decreases when dirt accumulates on them and the light fixtures’ brightness suffers from accumulated buildup. This article provides easy instructions to clean solar lights while explaining how proper maintenance extends their operational efficiency.
Why Cleaning Solar Lights is Important
A solar light system’s solar panels act as energy collectors and converters. Ideally the heart of the energy system should charge batteries powering the light fixtures, but issues on the solar panel reduce the battery charge leading to poor light output. Without clean panels, dust, dirt and even water spots will settle on the panel forcing the light to remain dim or even off completely. Maintaining the panel increases the efficiency of the outdoor solar light system, as clean panels are able to absorb more sunlight.
Routine cleaning performs greater than just maintaining aesthetics; it directly impacts the performance of a solar light system. The battery and solar light fixture can better utilize solar energy as the overall build structure is less prone to rust or corrosion. Without regular use of soft or warm damp cloths, along with vinegar cleaning solutions, stubborn dirt will accumulate and lower the standard of the structure. The greater collation of stubborn dirt will force solar lights to lose energy and become inefficient. Therefore, ensuring clean light fixtures is a great way to improve your battery efficiency while taking the full advantage of solar energy.
Preparation Before Cleaning
Safety measures and protection of solar lights must be established before beginning any cleaning operation. Your solar lights need to be turned off before beginning the cleaning process. Electrical malfunctions will be prevented during the cleaning process. Solar lights contain battery compartments that need protection from cleaning operations when the lights are turned on because this could harm their electrical components. Check your lights for damage and cracks before beginning any cleaning operation. You should repair any visible cracks on the light fixture or battery compartment before continuing with maintenance.
Begin by assembling the required cleaning equipment. The cleaning process requires a soft brush or dry cloth to clean solar panels followed by a damp cloth to wipe light fixtures and optional mild cleaning solution. The surface of solar panels and light covers should be protected from damage by using only gentle materials and non-harsh cleaning solutions. Before cleaning check the battery compartment and terminals of the light for accumulated debris because such materials can affect solar battery performance. The correct preparation process prevents you from making mistakes that could harm your lights during cleaning operations.
How to Clean Solar Lights
Standard Solar Garden Lights
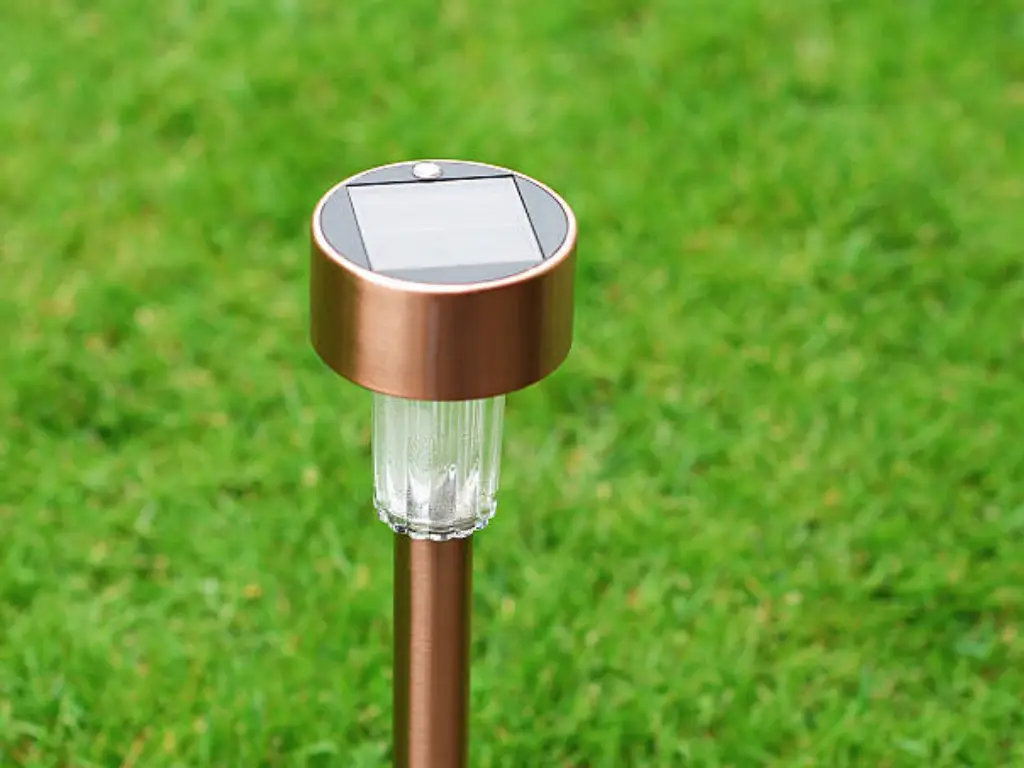
Standard solar garden lights serve residential properties for pathway illumination and garden illumination. Standard solar garden lights contain a small solar panel with a light cover as their main components. The cleaning process begins with turning off the light before proceeding. Turn off the light source before cleaning the solar panel by using a soft cloth or soft-bristle brush to wipe its surface. The cleaning process eliminates dust particles and loose dirt and pollen which could prevent sunlight from reaching the solar panel. Direct application of water on solar panels should be avoided because it can harm the internal electrical components.
Warm water on a dampened cloth will help remove tough stains from solar panels when gently rubbing the surface. To remove tough stains from the solar panel apply a mild soap solution yet exercise caution by avoiding contact between the solution and the battery compartment. Wipe the light cover with a damp cloth to eliminate dust and water spots after cleaning the panel. Regular cleaning of transparent covers prevents dirt buildup that blocks light distribution because dirt can reduce the amount of light reaching the panel. Check every part of the light fixture for rust and corrosion particularly near metal components to ensure the solar light remains functional.
| Step | Task | Important Notes |
| Step 1 | Turn Off the Solar Light | Before cleaning, ensure the solar garden light is turned off to prevent any electrical issues. |
| Switch off the light source before handling the fixture. | This prevents accidental electrical damage or short circuits. | |
| Step 2 | Clean the Solar Panel | A dirty solar panel can block sunlight absorption, reducing battery efficiency. |
| Use a soft cloth or soft-bristle brush to gently wipe the solar panel’s surface, removing dust, loose dirt, and pollen. | Avoid direct application of water to the panel, as moisture can damage internal electrical components. | |
| For tough stains, gently rub the surface with a damp cloth and warm water. | Do not apply excessive pressure, as it may scratch the panel. | |
| If necessary, apply a mild soap solution to clean persistent dirt but avoid contact with the battery compartment. | Soap residue should be wiped off completely to prevent buildup. | |
| Step 3 | Clean the Light Cover | The light cover plays a crucial role in distributing light effectively. |
| Wipe the light cover with a damp cloth to remove dust and water spots. | Regular cleaning of transparent covers prevents dirt buildup, which can block light distribution. | |
| Ensure all debris and grime are removed to maintain optimal brightness. | Avoid using abrasive materials that could scratch or dull the cover. | |
| Step 4 | Inspect for Rust and Corrosion | Rust or corrosion on metal components can impact performance. |
| Check all parts of the light fixture, especially around metal areas, for signs of rust or corrosion. | If corrosion is found, clean it carefully and apply a protective coating if necessary. | |
| Ensure that all screws and connections are secure to maintain the light’s structural integrity. | Loose parts can affect the stability and efficiency of the solar light. |
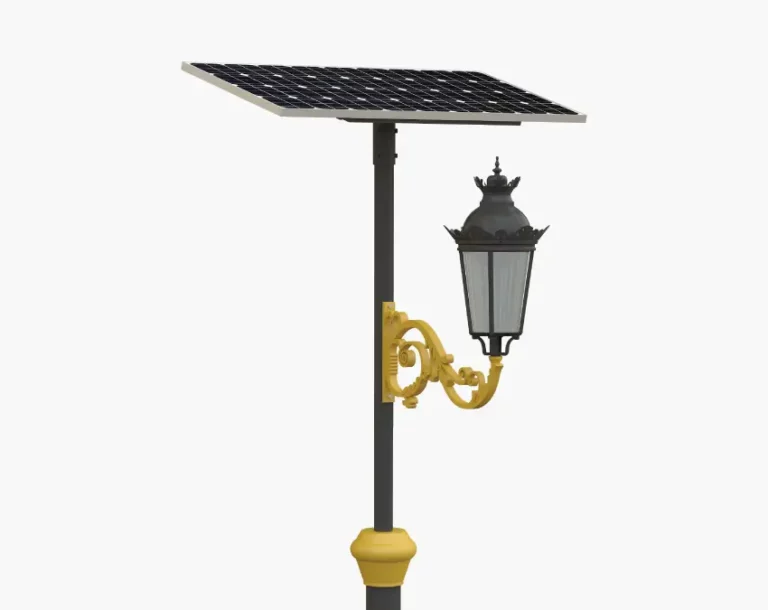
Decorative Solar Lights
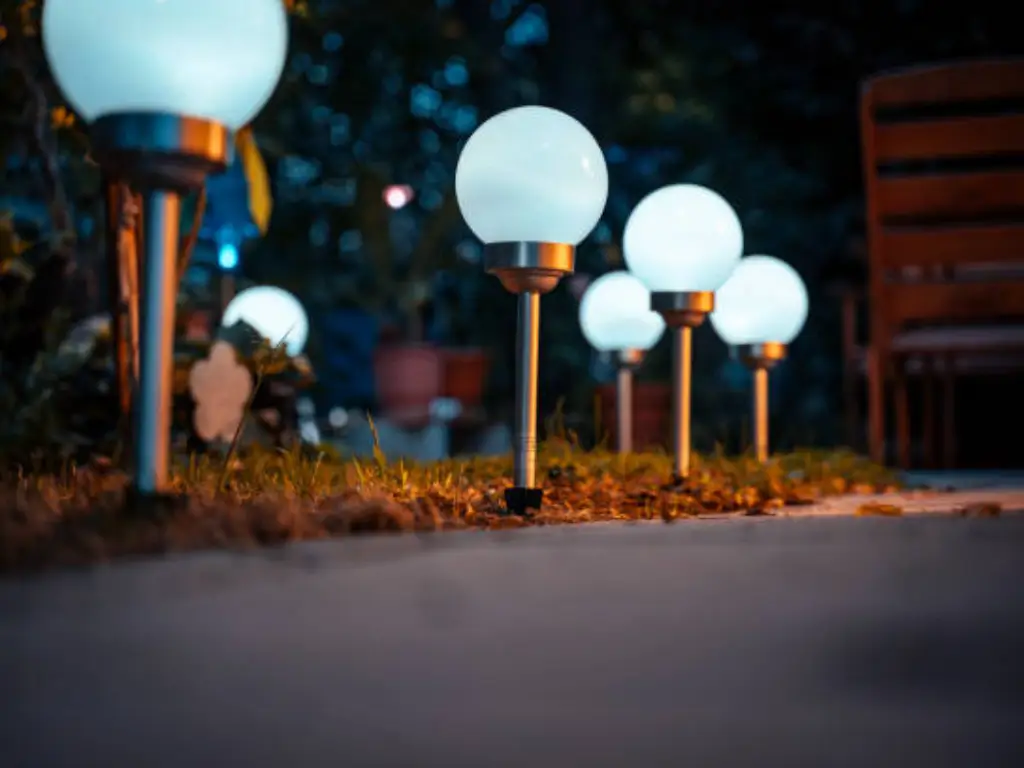
Decorative solar lights attract attention through their decorative elements which include glass spheres and metal accents. Special caution must be exercised when cleaning decorative solar lights because their delicate decorations need protection. The first step for cleaning decorative solar lights follows the same procedure as regular solar garden lights by turning off the light source. Clean the solar panel by using a soft brush or cloth. When cleaning decorative glass balls and metal parts keep away harsh cleaning tools because they might scratch or damage the surface.
Wash decorations with a slightly moistened cloth while exercising gentle cleaning techniques. Excessive liquid usage should be avoided when cleaning fragile decorations because it could lead to water infiltration inside the components. A hairdryer can blow away dust from decorative parts without affecting their design. Regular inspections of decorative elements will help identify loose or damaged components which ensure the light maintains its optimal condition. The best cleaning approach for decorative parts includes using only mild solutions instead of chemical cleaners.
| Step | Task | Important Notes |
| Step 1 | Turn Off the Solar Light | Before cleaning, turn off the decorative solar light to prevent electrical issues. |
| Switch off the light source before handling the fixture. | This prevents accidental damage to internal components. | |
| Step 2 | Clean the Solar Panel | The solar panel should be kept clean to maintain energy absorption. |
| Use a soft brush or cloth to gently wipe the surface of the solar panel. | Avoid using harsh cleaning tools, as they may scratch the panel and reduce efficiency. | |
| Remove dust, dirt, and pollen that could block sunlight from reaching the panel. | Do not apply direct water pressure on the solar panel to prevent internal damage. | |
| Step 3 | Clean the Decorative Elements | Special care is needed for delicate glass spheres, metal accents, and other decorations. |
| Use a slightly moistened cloth to clean decorative elements gently. | Avoid excessive liquid usage, as it may cause water infiltration into the components. | |
| If necessary, use a hairdryer on a cool setting to remove dust without affecting fragile designs. | Do not use abrasive materials that could scratch or damage the decorative parts. | |
| Step 4 | Inspect for Loose or Damaged Components | Regular inspections help maintain the light’s condition. |
| Check all decorative elements for looseness or damage. | If any parts are loose, tighten them carefully to prevent detachment. | |
| Avoid using chemical cleaners on metal or glass parts, as they may cause discoloration or damage. | Mild cleaning solutions are the best choice for maintaining the decorative look. |
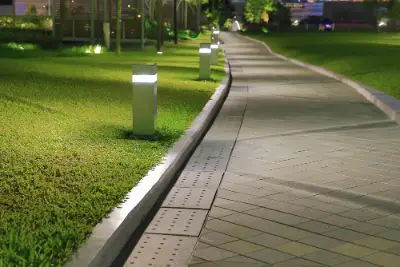
Solar Pathway Lights
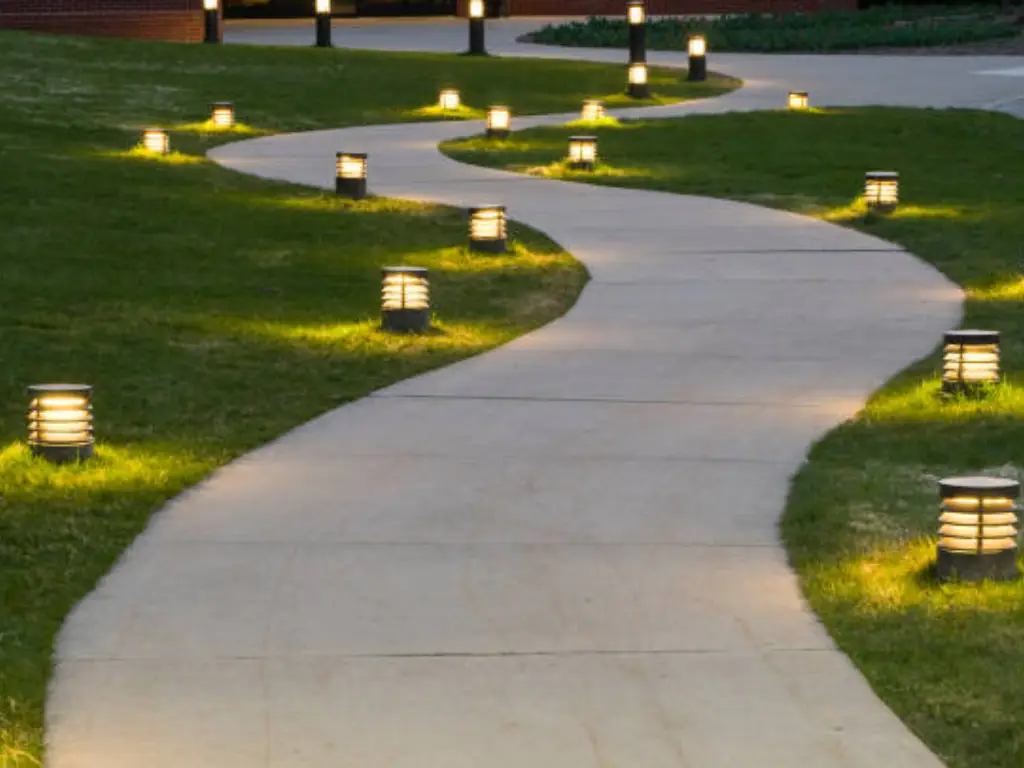
Solar pathway lights receive exposure to dirt, mud and debris because they are typically installed in walkways and gardens. The ground contact position of these lights requires additional cleaning care. First turn off all lights for safety reasons. Clean the solar panel by using a soft brush or cloth to eliminate accumulated dirt. Apply water to the light fixtures indirectly to stop water from entering the battery compartment.
Use a damp cloth to clean the light cover while focusing on removing dirt and water spots from its bottom area. The light output becomes obstructed when dirt accumulates at this location. The light fixture base needs to be clear of leaves and twigs to ensure proper sunlight absorption by the solar panel. The light’s functionality stays strong because regular cleaning maintains its brightness in outdoor conditions.
| Step | Task | Important Notes |
| Step 1 | Turn Off the Solar Light | Before cleaning, turn off the solar pathway light to ensure safety. |
| Switch off the light source before handling the fixture. | This prevents accidental electrical issues and protects internal components. | |
| Step 2 | Clean the Solar Panel | Pathway lights collect dirt and debris due to their ground-level placement, making regular cleaning essential. |
| Use a soft brush or cloth to gently wipe the solar panel, removing accumulated dirt and mud. | Avoid scratching the panel by using only soft cleaning materials. | |
| Do not pour water directly onto the panel; instead, use a slightly damp cloth if needed. | Water can seep into the battery compartment, leading to damage. | |
| Step 3 | Clean the Light Cover | The light cover plays a crucial role in ensuring maximum brightness. |
| Use a damp cloth to clean the light cover, focusing on removing dirt and water spots from the bottom. | Dirt buildup in this area can block light output. | |
| If necessary, use mild soapy water to remove stubborn stains, but avoid soaking the fixture. | Never use harsh chemicals that could damage the cover’s transparency. | |
| Step 4 | Clear the Fixture Base and Surrounding Area | The base of the fixture must remain unobstructed to allow proper sunlight absorption. |
| Remove leaves, twigs, and debris from around the base of the solar light. | Obstructions can block sunlight and reduce charging efficiency. | |
| Ensure that the pathway light is securely positioned, as unstable fixtures can become misaligned over time. | Regular cleaning helps maintain consistent brightness in outdoor conditions. |
Solar Wall Lights
Solar wall lights require wall installation and their solar panels are positioned either on top or along the sides of the fixture. You should turn off wall-mounted solar lights before starting any cleaning process. A soft cloth should be used to clean the solar panel by wiping away dust and debris. Water contact with the solar panel should be avoided because it can harm the electrical components.
A damp cloth serves to clean the light cover by removing both dust and stains. A gentle cleaning solution should be used for stubborn stains. Keep all liquids away from both the battery compartment and interior components of the light. Test the installation site for stability before mounting the light to prevent it from becoming loose or falling due to weather elements.
| Step | Task | Important Notes |
| Step 1 | Turn Off the Solar Light | Before cleaning, turn off the solar wall light to ensure safety. |
| Switch off the light source before handling the fixture. | This prevents accidental electrical damage and protects internal components. | |
| Step 2 | Clean the Solar Panel | The solar panel is typically positioned on top or along the sides of the fixture and needs regular cleaning. |
| Use a soft cloth to gently wipe away dust and debris from the panel. | Avoid using excessive force to prevent scratching the solar panel. | |
| Do not apply water directly to the panel, as it can damage the electrical components. | Use only a dry or slightly damp cloth for safe cleaning. | |
| Step 3 | Clean the Light Cover | A clean light cover ensures maximum brightness and efficiency. |
| Use a damp cloth to wipe away dust and stains from the cover. | Avoid excessive moisture, as it may seep into the light fixture. | |
| For stubborn stains, use a gentle cleaning solution, wiping carefully to remove residue. | Do not allow cleaning liquids to enter the battery compartment or internal components. | |
| Step 4 | Check the Installation Site for Stability | Ensuring the light fixture is securely installed is essential for long-term functionality. |
| Inspect the mounting area to ensure the fixture is stable and properly attached to the wall. | A loose fixture may fall due to wind, rain, or other external factors. | |
| Tighten any loose screws or attachments to maintain a secure installation. | Regular inspections help prevent damage caused by unstable mounting. |
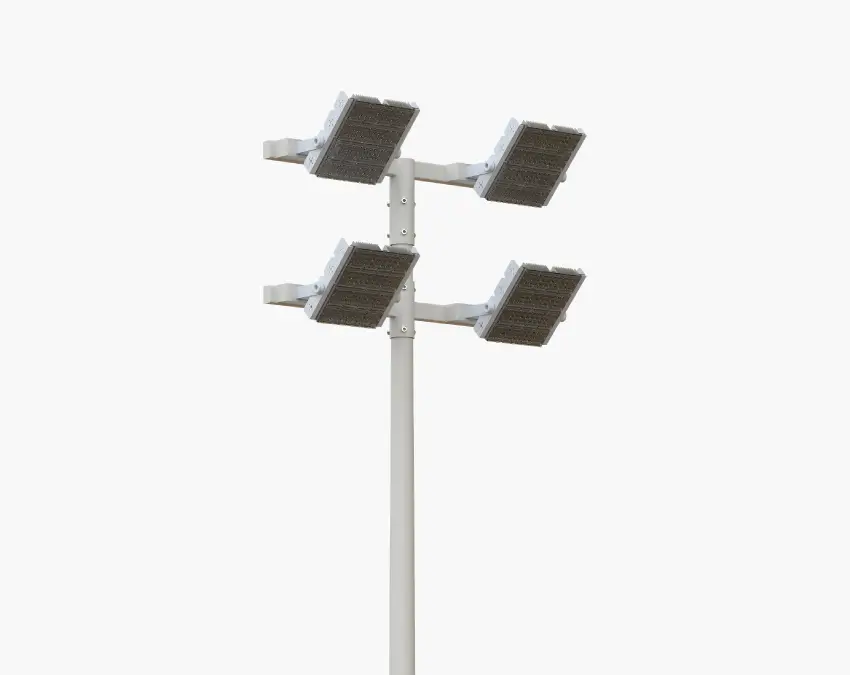
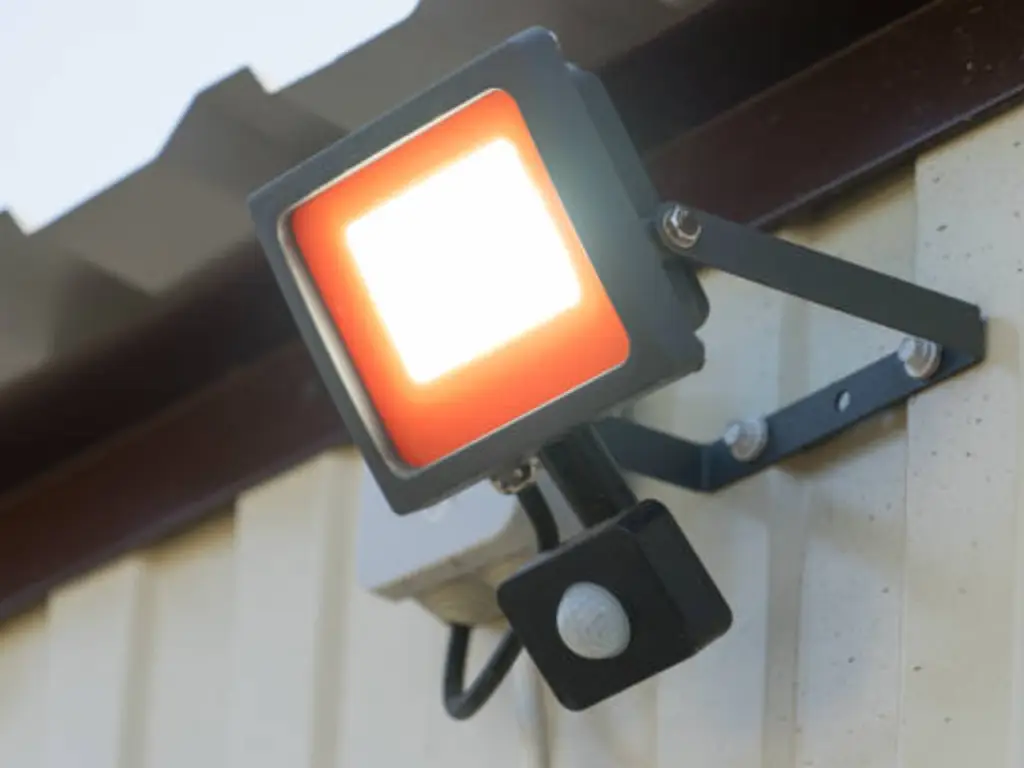
Solar Spotlights
Solar spotlights function as primary illumination tools for specific garden or outdoor space areas. Solar spotlights require a clear solar panel to operate at their best because they use a concentrated beam of light. Start by disconnecting power from the solar spotlight before cleaning. Clean the solar panel using a soft brush or cloth to eliminate accumulated dust and dirt. Check that all debris stays away from the panel’s surface area.
Clean the light cover by using a damp cloth to eliminate accumulated dust and grime. A mild soap solution can be used to tackle stubborn stains. Periodically adjust the spotlight angle to guarantee the solar panel receives its best possible sunlight exposure. Regular inspections of the battery and light fixture components will help maintain steady operation.
| Step | Task | Important Notes |
| Step 1 | Turn Off the Solar Spotlight | Before cleaning, disconnect the power to ensure safety. |
| Switch off the light source before handling the fixture. | Prevents electrical damage and accidental operation. | |
| Step 2 | Clean the Solar Panel | The solar panel must remain clean for optimal energy absorption. |
| Use a soft brush or cloth to gently wipe away dust and dirt. | Avoid scratching the panel by using only soft materials. | |
| Ensure no debris is blocking the panel’s surface to allow maximum sunlight absorption. | Removing obstructions helps maintain charging efficiency. | |
| Step 3 | Clean the Light Cover | The light cover affects the brightness and clarity of the spotlight. |
| Wipe the light cover with a damp cloth to remove dust and grime. | Ensure the cloth is not overly wet to prevent moisture damage. | |
| Use a mild soap solution to clean stubborn stains if necessary. | Rinse with a damp cloth to remove any soap residue. | |
| Step 4 | Adjust the Spotlight Angle | Proper positioning ensures maximum exposure to sunlight. |
| Periodically adjust the spotlight’s angle to align it with the sun’s direction. | Helps maintain consistent battery charging and brightness. | |
| Ensure the solar panel remains unobstructed by nearby objects like trees or structures. | Shadows can reduce charging efficiency and shorten runtime. | |
| Step 5 | Inspect Battery and Light Fixture Components | Regular maintenance ensures long-term functionality. |
| Check the battery compartment for dust, corrosion, or damage. | Clean terminals if necessary to ensure proper connections. | |
| Inspect the light fixture for wear or loose parts to maintain steady operation. | Loose fixtures can shift, affecting performance. |
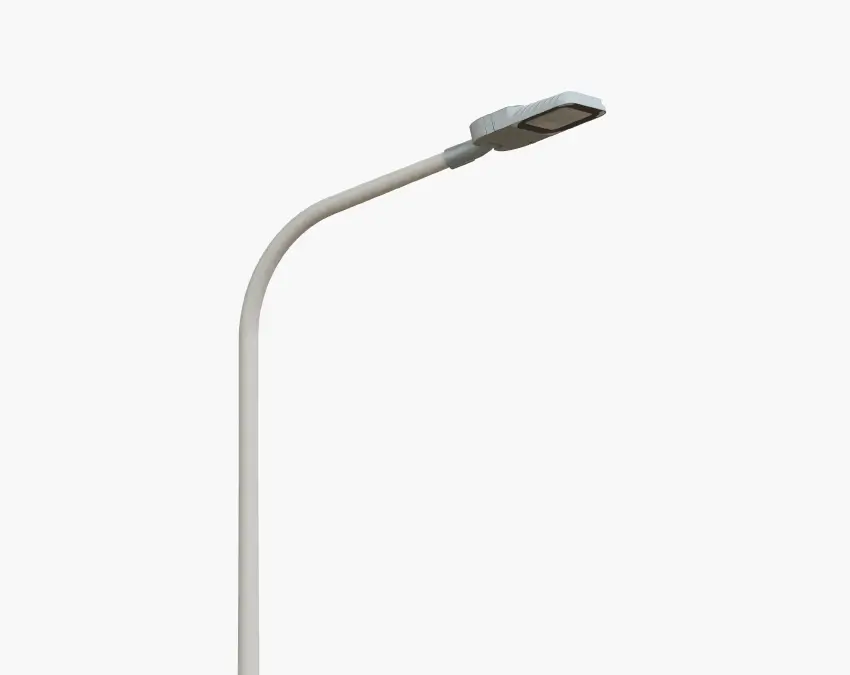
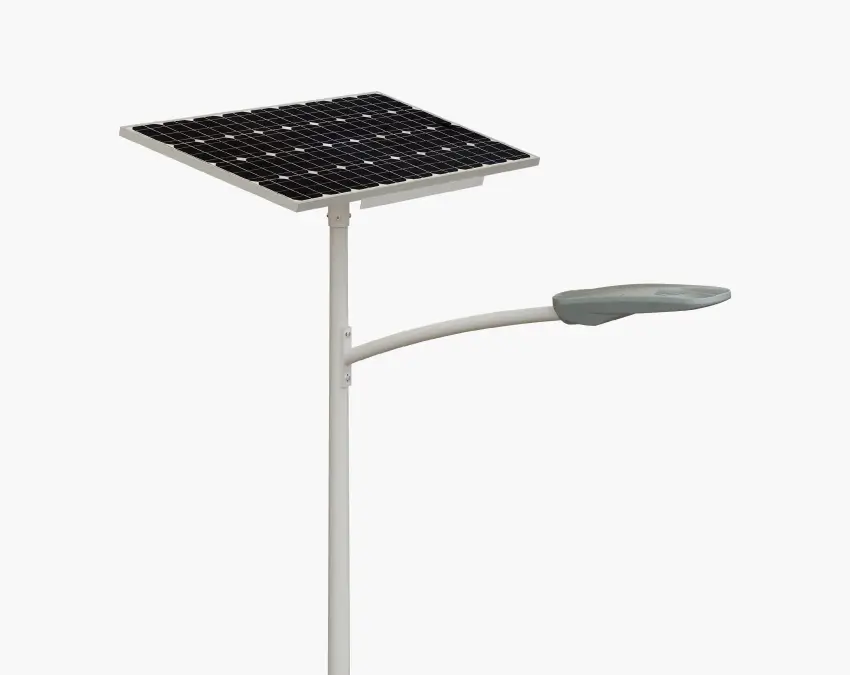
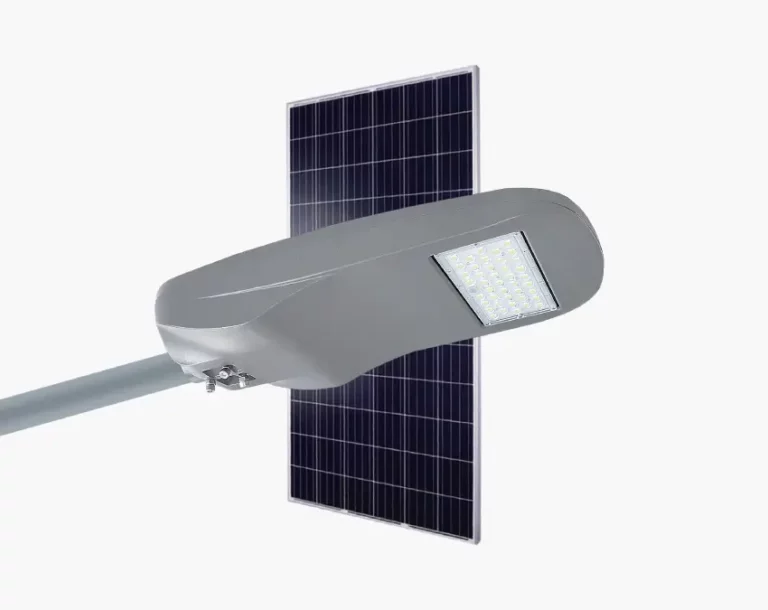
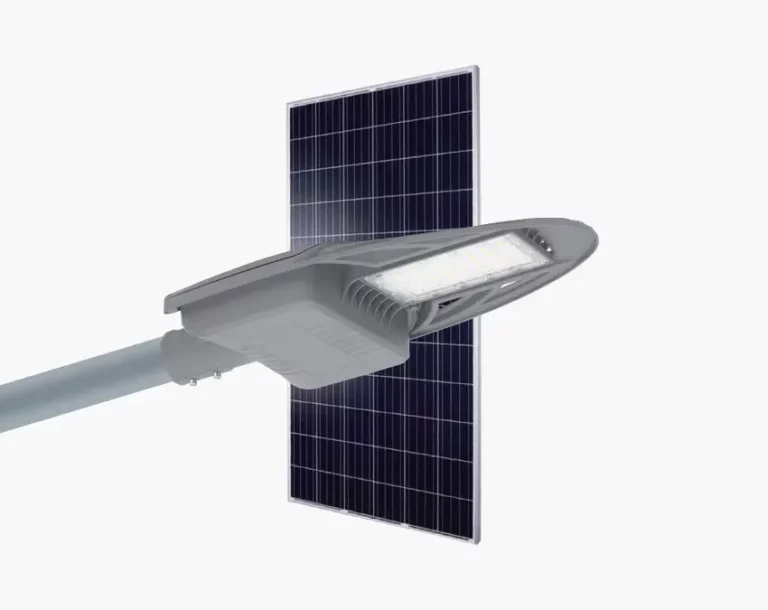
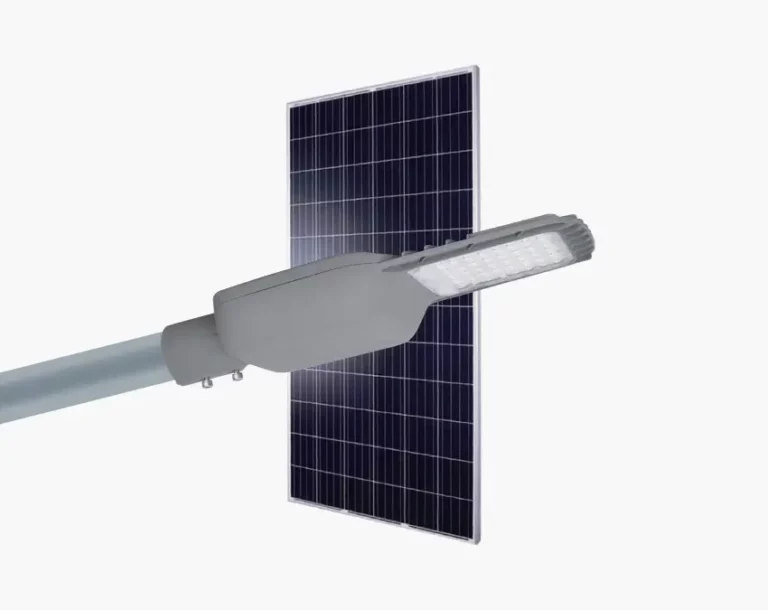
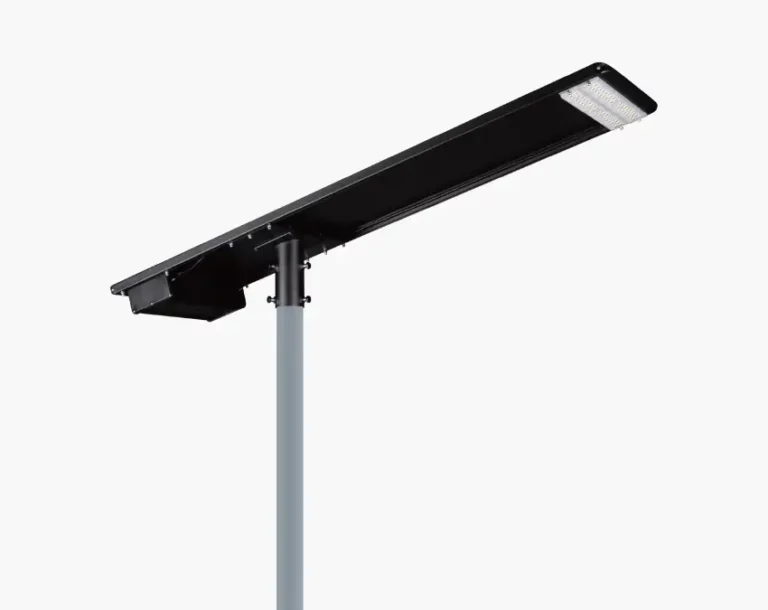
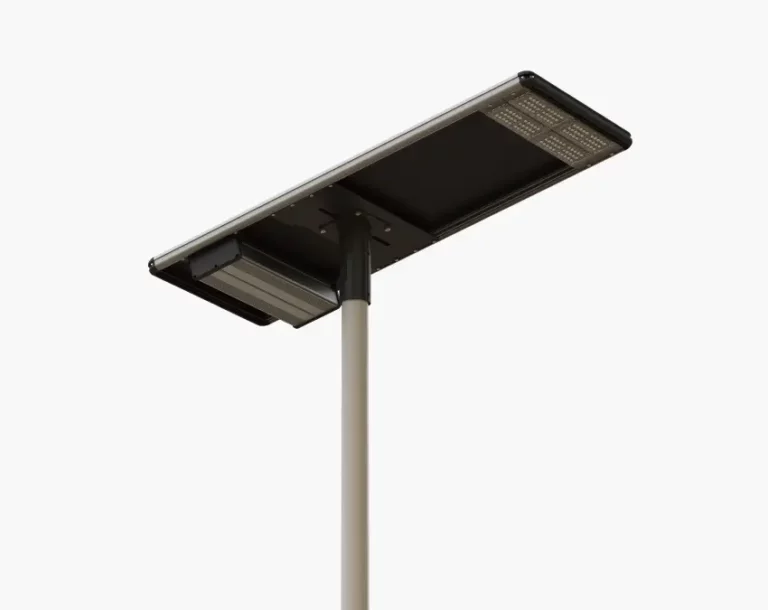
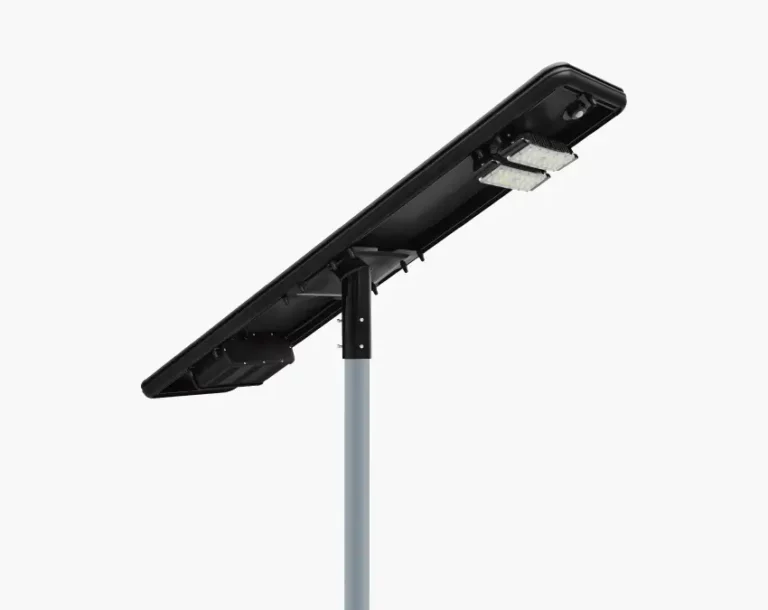
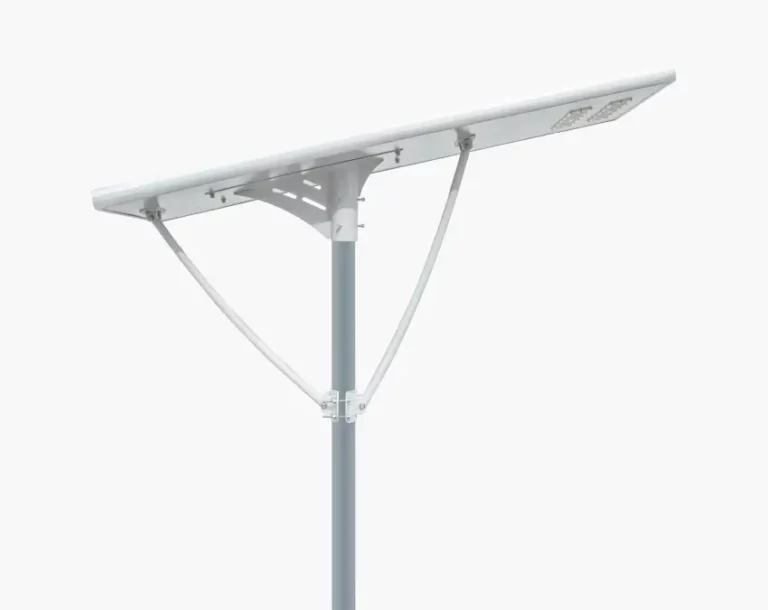
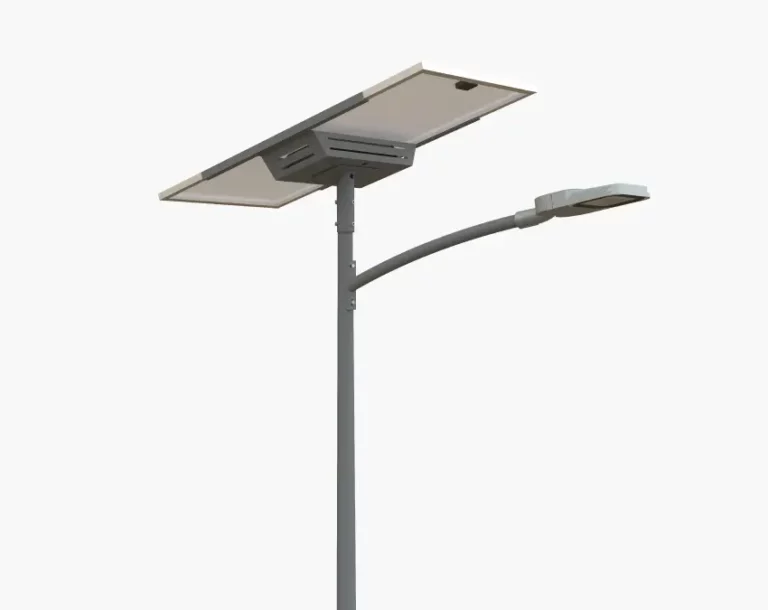
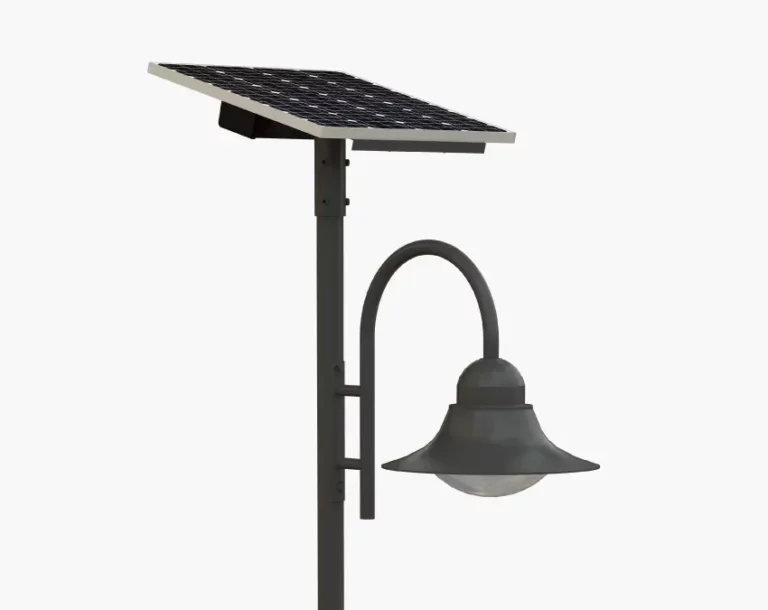
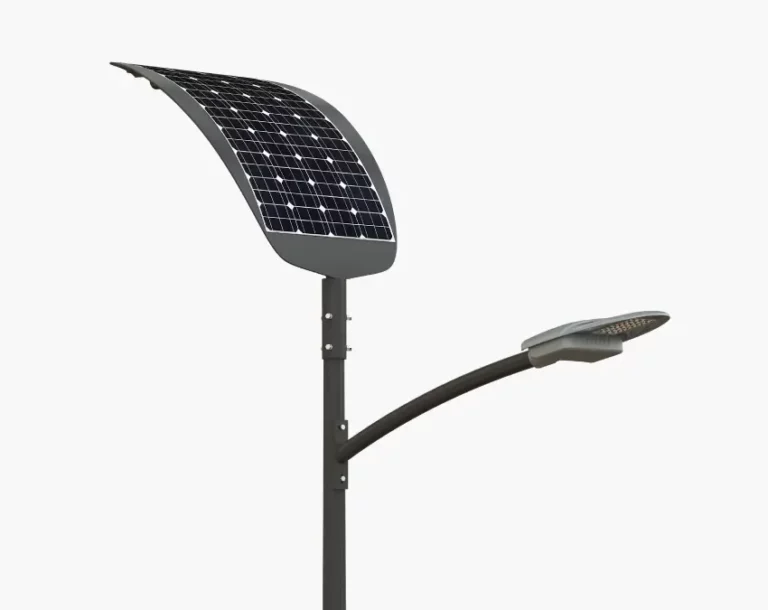
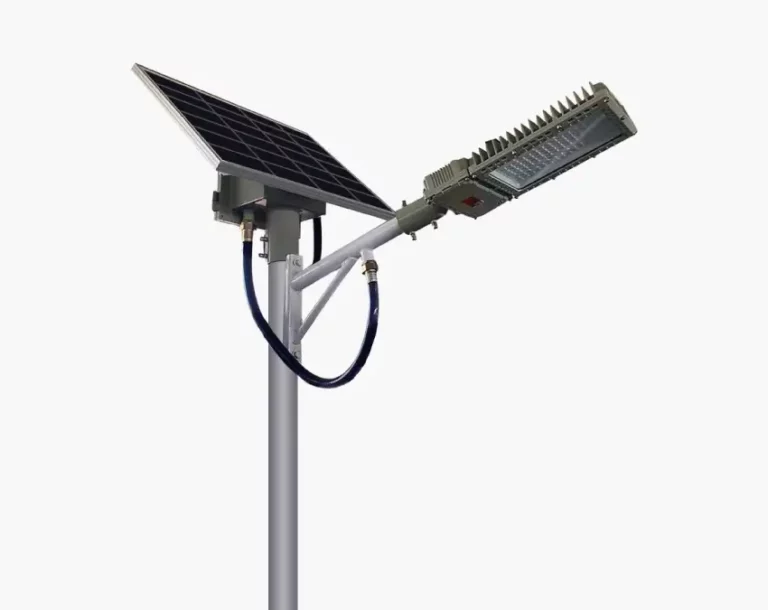
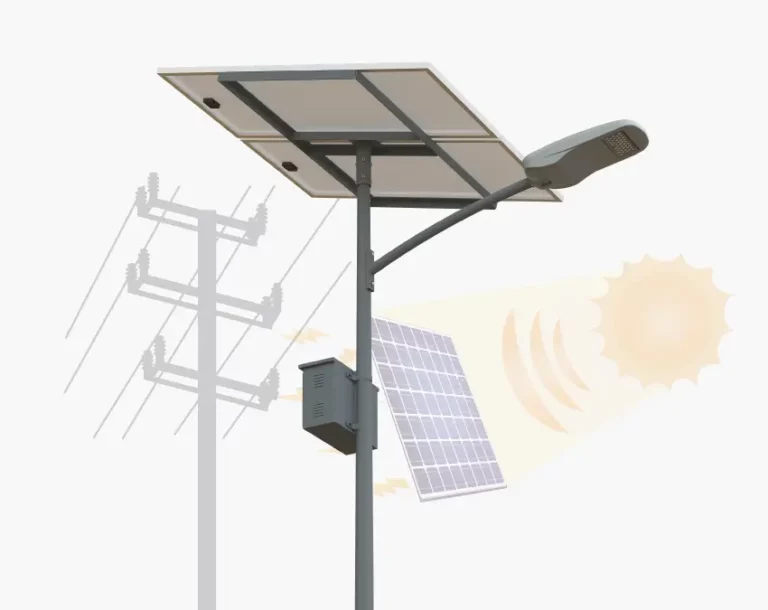
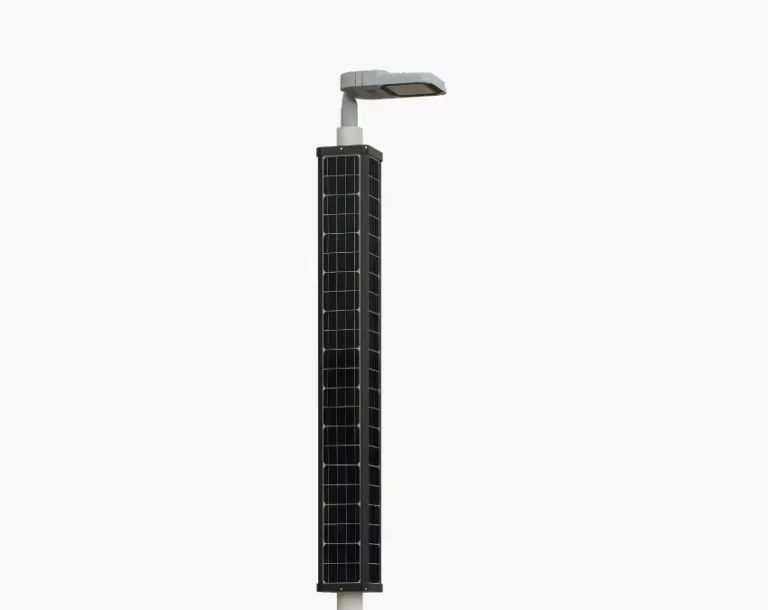
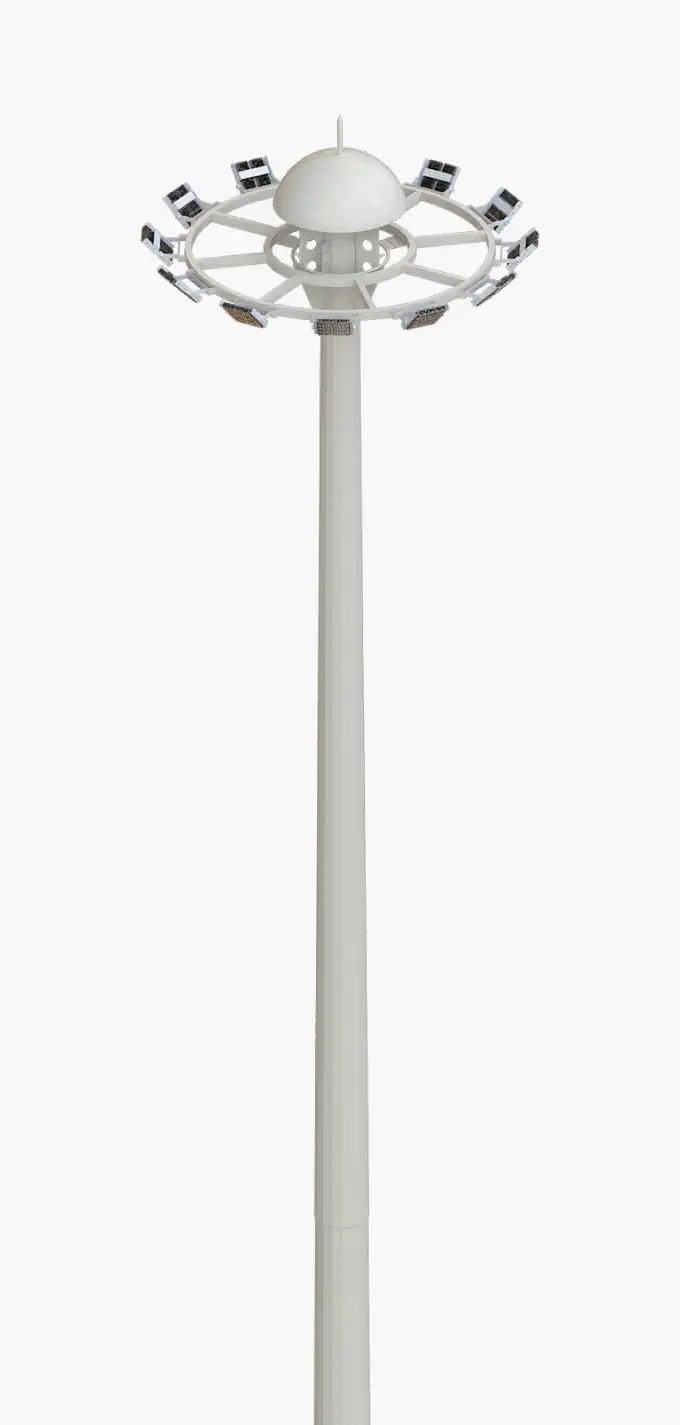
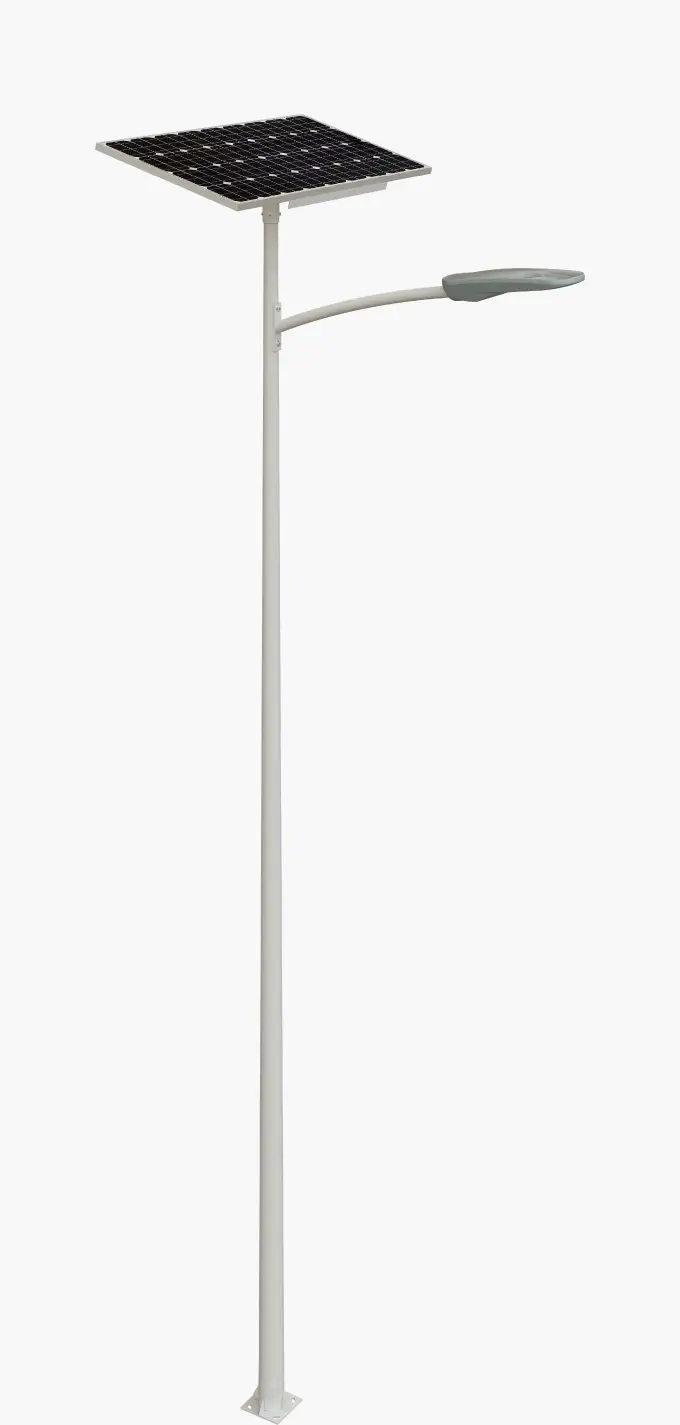
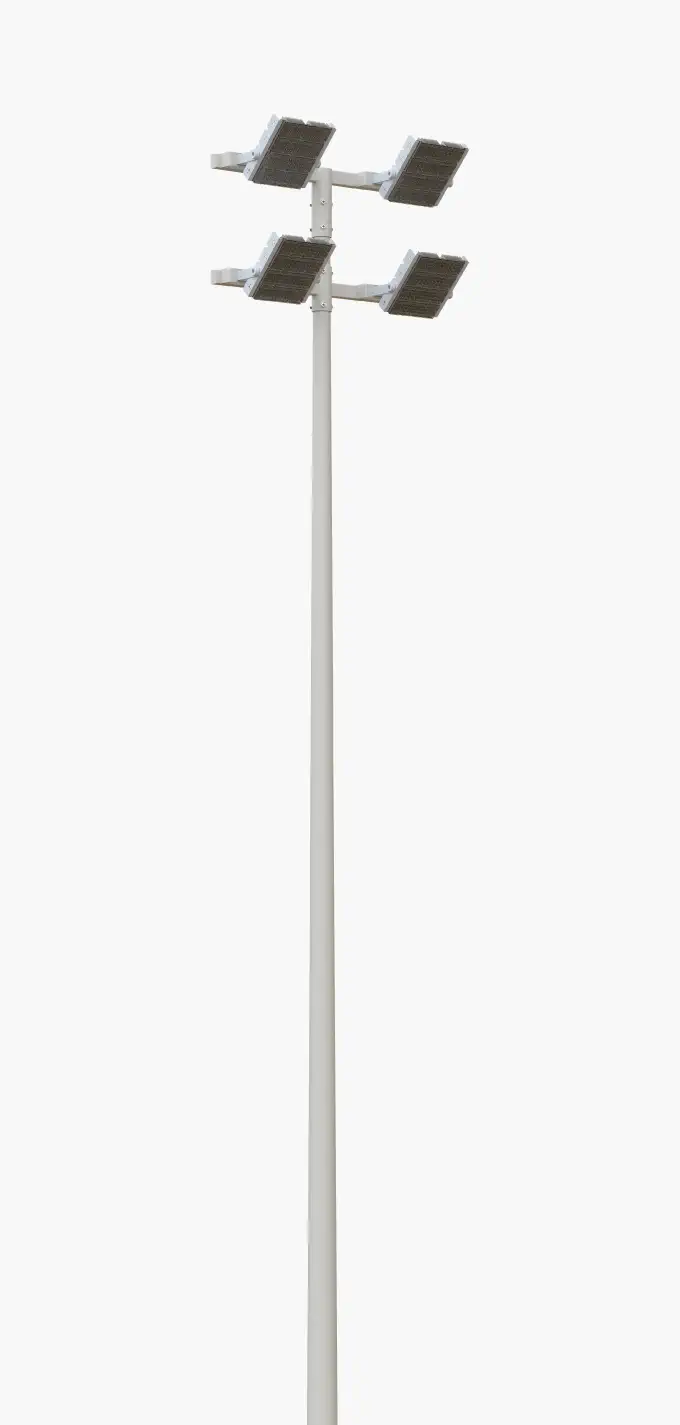
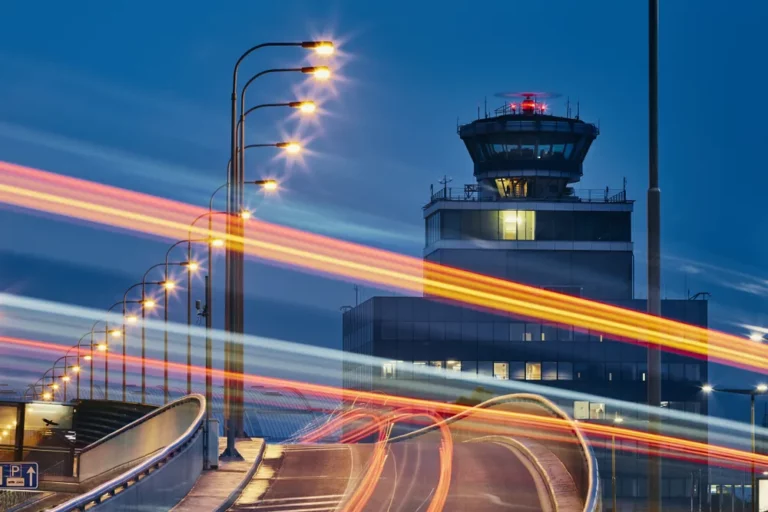
Solar Street Lights
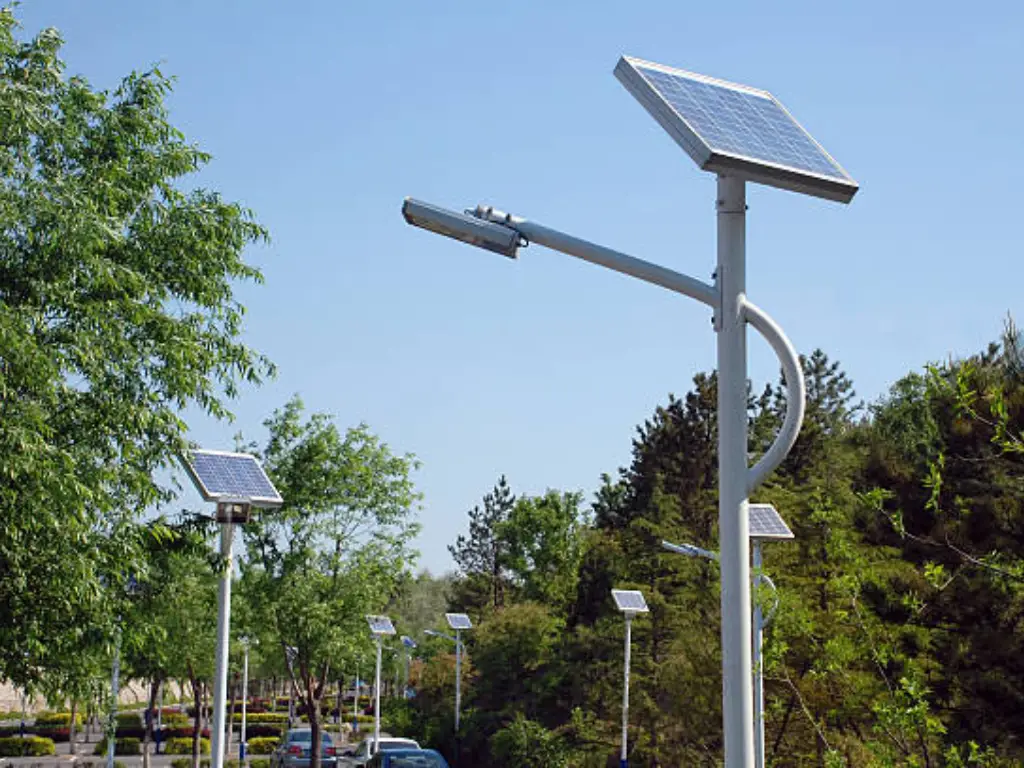
Solar street lights operate in open areas and face multiple environmental conditions because of their large size. Regular upkeep checks are necessary to maintain the operational efficiency of these systems. Begin solar panel cleaning with a soft brush or cloth. Harsh chemicals and power washers should be avoided because they will damage the panel’s surface. Warm water and a mild solution serve as appropriate cleaning agents.
Regular cleaning of the light cover requires a damp cloth while soapy water serves to remove stubborn stains. Avoid letting water penetrate into the light’s internal parts. Check the battery compartment for dryness while inspecting for corrosion and water damage. The last step involves inspecting the area surrounding the street light to verify that no objects will prevent sunlight from reaching the solar panel.
| Step | Task | Important Notes |
| Step 1 | Clean the Solar Panel | Solar street lights have large solar panels that collect dust, dirt, and debris, which can reduce efficiency. Regular cleaning is essential, especially in dusty or rainy environments. |
| Use a soft cloth, brush, or vacuum cleaner to remove accumulated dust and dirt. | Avoid using harsh cleaning chemicals that can damage the solar panel surface. | |
| Ensure the panel is free from water spots or stubborn stains by wiping it gently with a damp cloth or vinegar solution if necessary. | Do not apply excessive pressure, as it may scratch the solar panel. | |
| Step 2 | Clean the Light Cover and Light Source | The light cover accumulates dust and dirt, which can reduce light brightness and efficiency. |
| Use a damp cloth to wipe down the light cover regularly. | Ensure the cloth is not too wet to prevent water from entering the light fixture. | |
| For stubborn stains, clean with mild soapy water, but avoid letting water seep into the light’s internal components. | Never use abrasive materials that could scratch the cover. | |
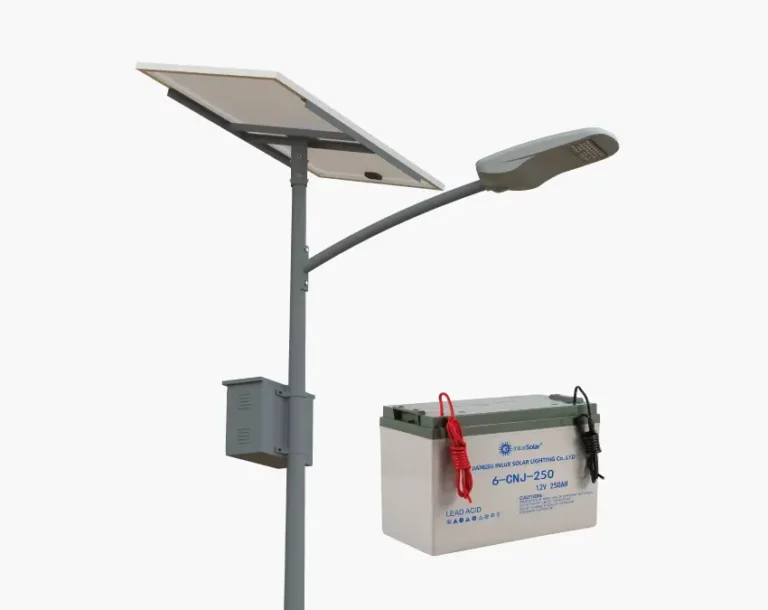
| Step 3 | Inspect the Battery and Battery Compartment | Solar street light batteries are typically housed at the base or side of the fixture and should be checked regularly. |
| Ensure the battery compartment is dry and free of dust or water accumulation. | Water or excessive dust can cause corrosion and battery malfunction. | |
| Inspect the battery for signs of corrosion or damage and replace it if necessary. | Always use the recommended battery type to maintain efficiency. | |
| Step 4 | Check and Clean the Surrounding Area | The efficiency of solar panels can be affected by external obstructions such as leaves, branches, or dirt buildup. |
| Remove leaves, debris, or any objects blocking sunlight from reaching the solar panel. | Overgrown vegetation can block sunlight absorption, reducing the light’s performance. | |
| Step 5 | Perform Regular Inspections and Maintenance | Solar street lights are exposed to harsh weather conditions, so frequent checks are required. |
| Inspect the light fixture for physical damage, cracks, or loose parts. | Strong winds, rain, or snow can cause wear and tear over time. | |
| Check whether the battery is charging properly and the lights are functioning efficiently. | If performance issues persist, inspect the solar panel connection and battery health. |
How Often Should You Clean Solar Lights?
The need for solar light cleaning depends on both weather conditions and environmental factors in your area. People who experience heavy dust or pollen levels or regular rainfall should clean their solar lights once per month. The need for regular cleaning of solar lights depends on the local climate conditions. The practice of regular cleaning serves two essential purposes: it helps maintain visual appeal and it preserves the operational efficiency of the lights.
The lack of brightness or complete failure of your solar lights signals that dirt has accumulated on the solar panels. A more regular cleaning schedule should be implemented to bring back the proper functioning of the light when dirt accumulation affects its performance.
Additional Tips
Placing solar lights in areas with extreme weather conditions will reduce their operational lifespan. During severe winter weather and heavy storms protect your lights with waterproof covers. Replace batteries at the right time while using appropriate battery types for each light. Check the wiring and battery terminals for corrosion while inspecting your solar lights for malfunctioning after cleaning. Replace any damaged components.
Conclusion
Regular cleaning of solar lights proves essential to preserve their operational efficiency and achieve longer product life. The removal of dirt dust and grime from solar panels and light fixtures helps to achieve their maximum lighting potential. Standard garden lights together with decorative solar lights require proper maintenance for optimal performance. The steps in this guide will help your solar lights stay bright and functional to illuminate your outdoor areas for multiple years.